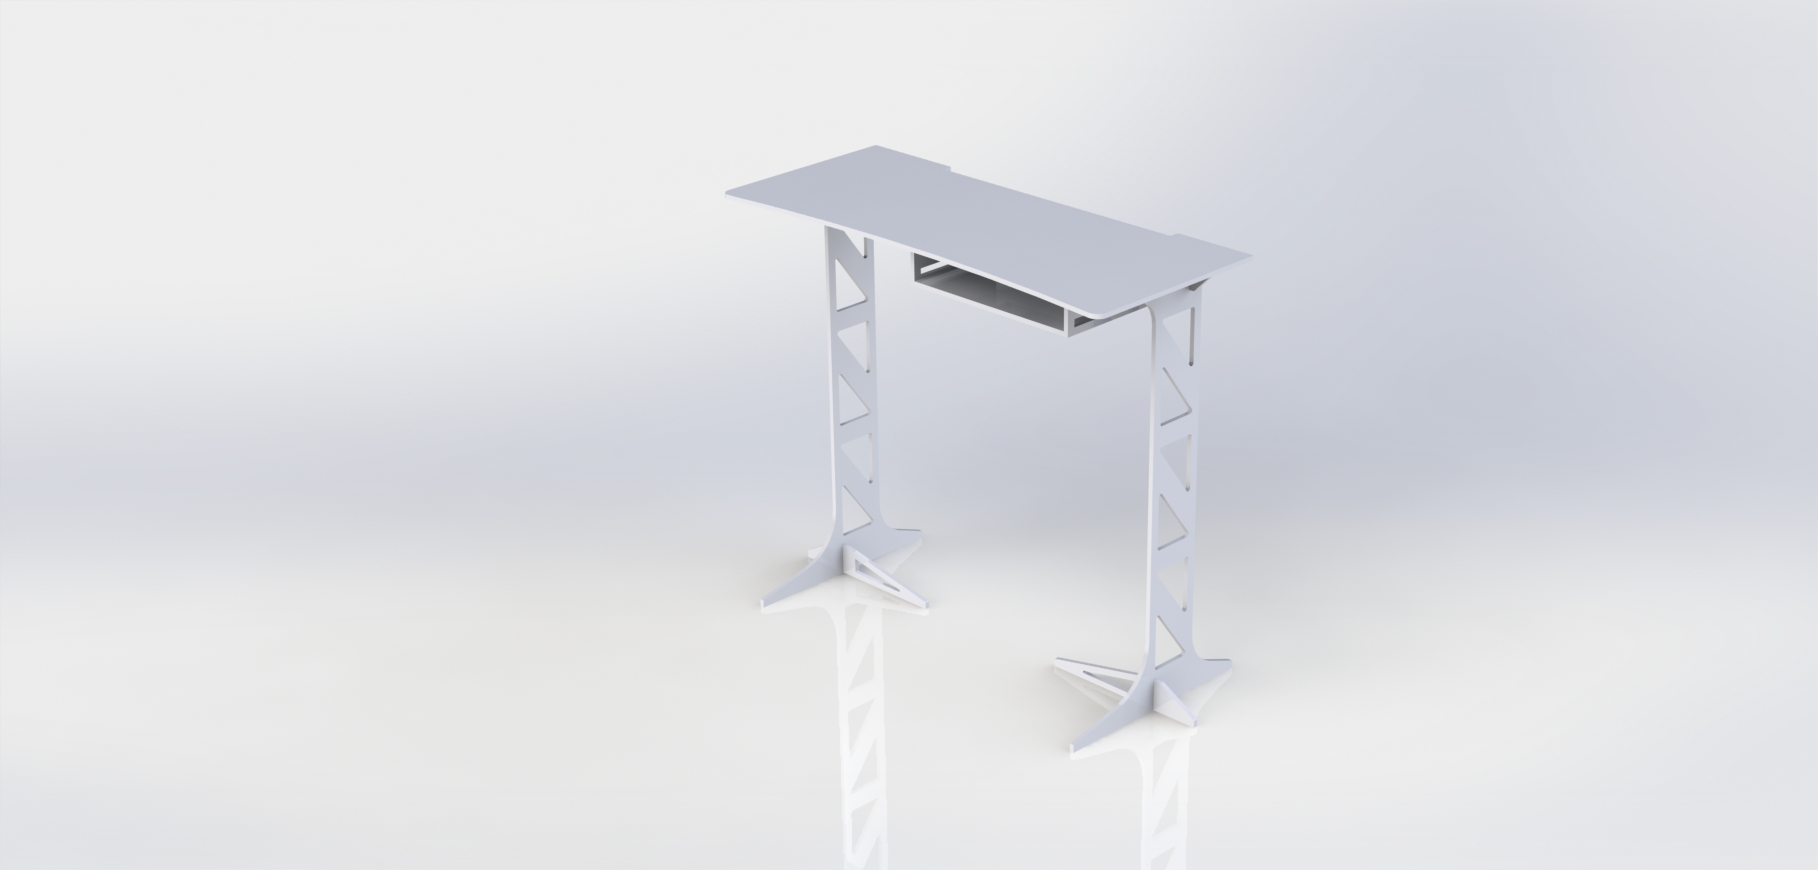
For this week I choose to make a quick and simple standup desk. I wanted to be able to work standing up infront of the living room window in my house. All I had on hand was one piece of 1/2" plywood so I jumped into Solidworks and started designing my new desk. One note. The render above from Solidworks has one component that I didn't end up attaching to the physical desk, it is the draw like piece below the desk surface. This is for a laptop or desktop computer if someone wants to use an external monitor and keyboard ontop of the desk and have the actual computer under the desk surface. |
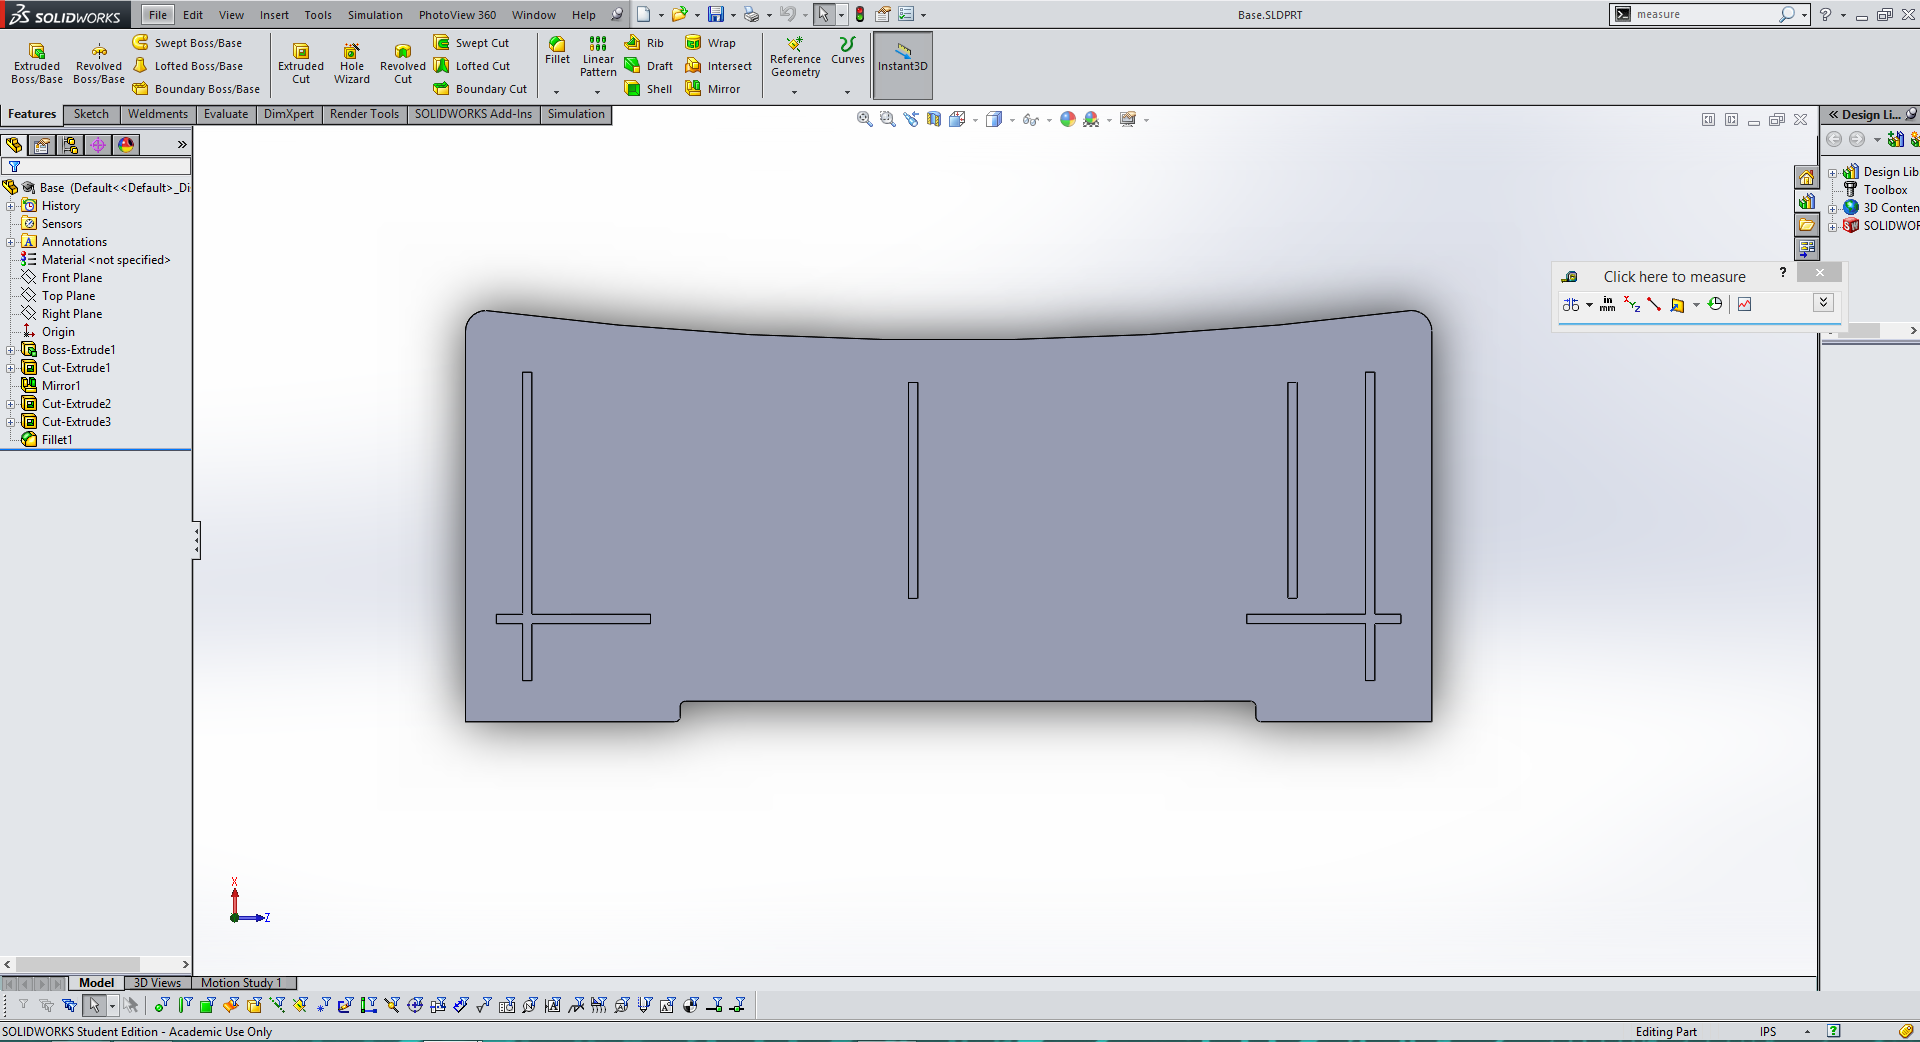
I started by designing the top surface of the desk. Since I was going to cut the desk with a 3 axis CNC machine I only made cuts from one side of the desk top, the bottom. I put in notches for the legs and supports as well as a cut out in the back for cables to run down the bottom of my desk without being squished between the wall and the desk. Finally for a finishing touch I added a slight indent to the front of the desk. |
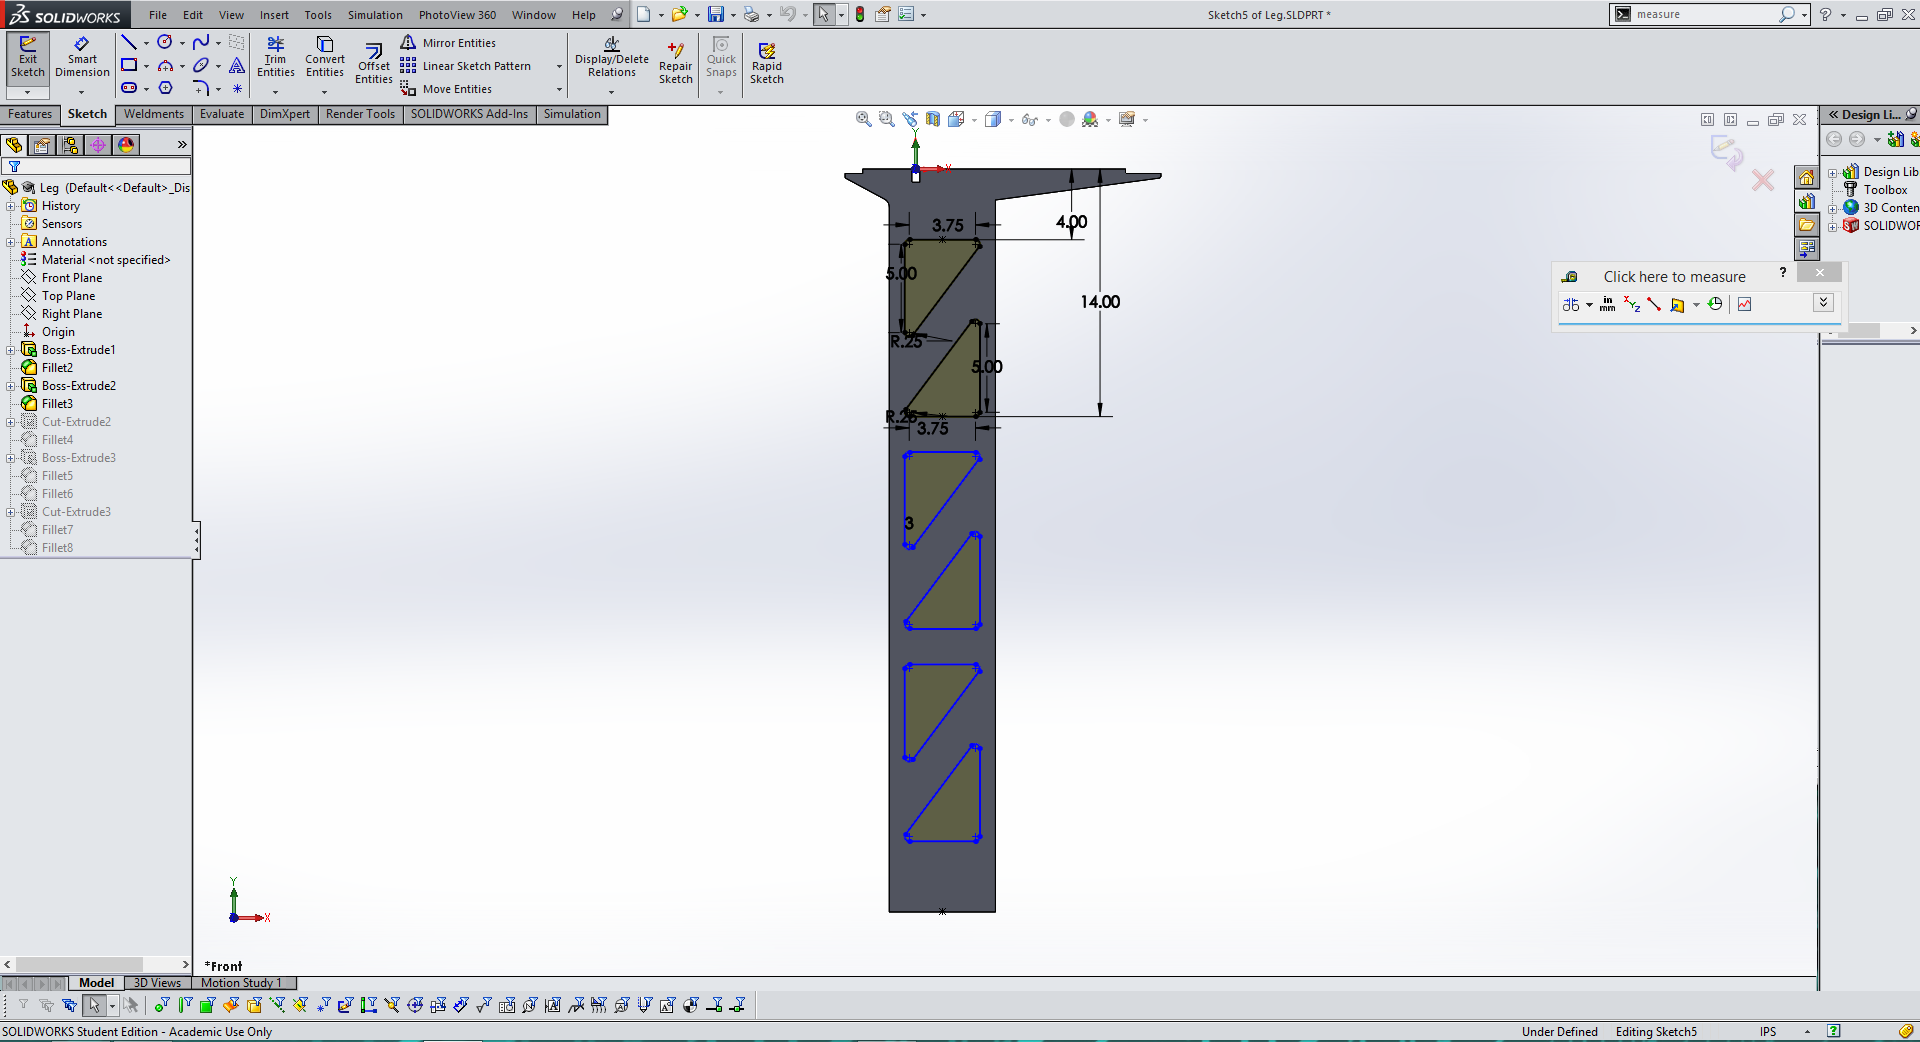
The next step was designing the leg of the desk. Again, I desking it all from one side so it could be cut out on the 3 axis ShopBot. I added an extruded section at the top to fit into the notch and cut out holes in the side of the legs to make the design more sleek. Finally I cut notches in the top and bottom for the additional supports that will run perpindicular to the legs. |
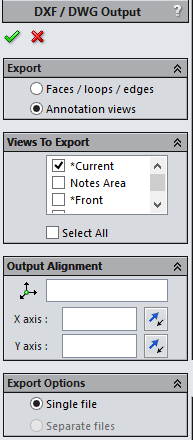
After I designed all of my parts I exported them as line images from Solidworks by going to "Save As" and then selecting .dxf. Then I used Solidwork's export tool to select the view I wanted as seen above. |
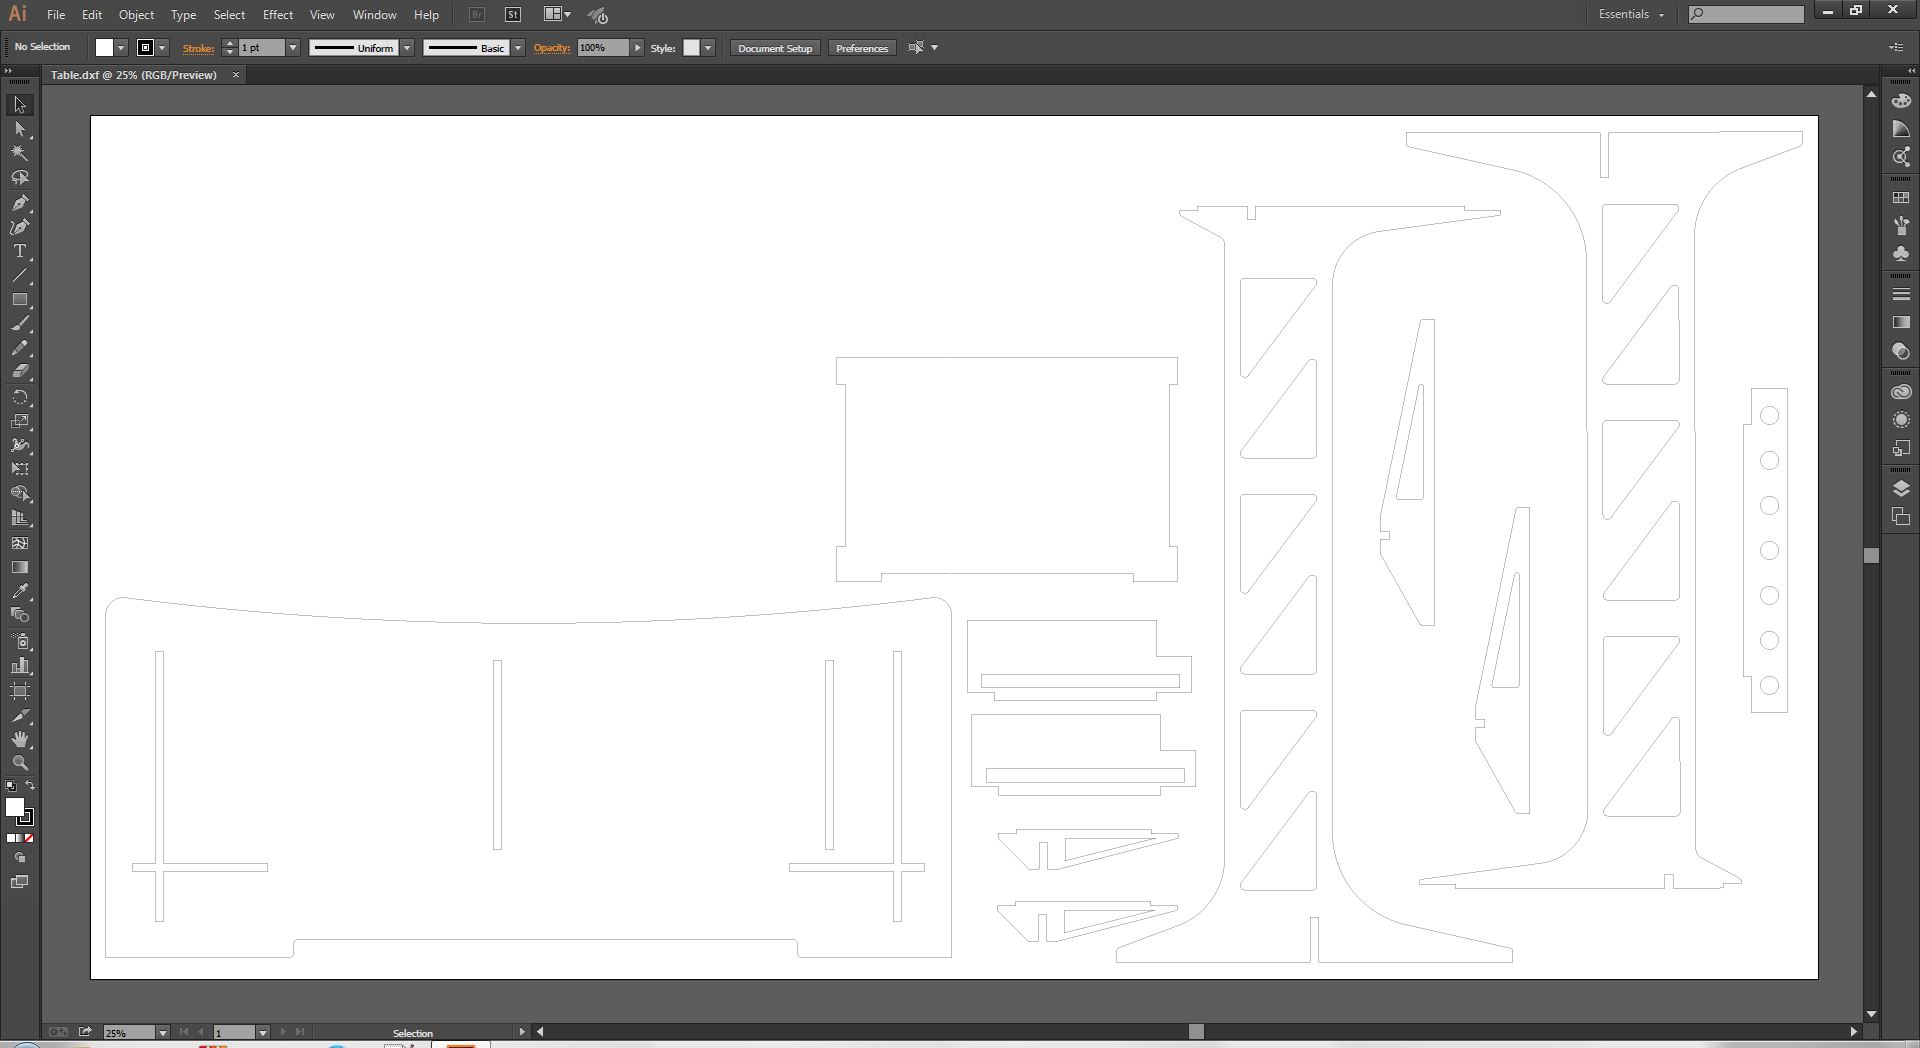
Next I create a 4' by 8' artboard in Adobe Illustrator to arrange my parts for cutting on the ShopBot. I made sure to space the parts far enough apart to that the 1/4" cutting bit had room to cut between parts. Finally I exported the new layout as a .dxf so that I could design the toolpaths in Aspire. |
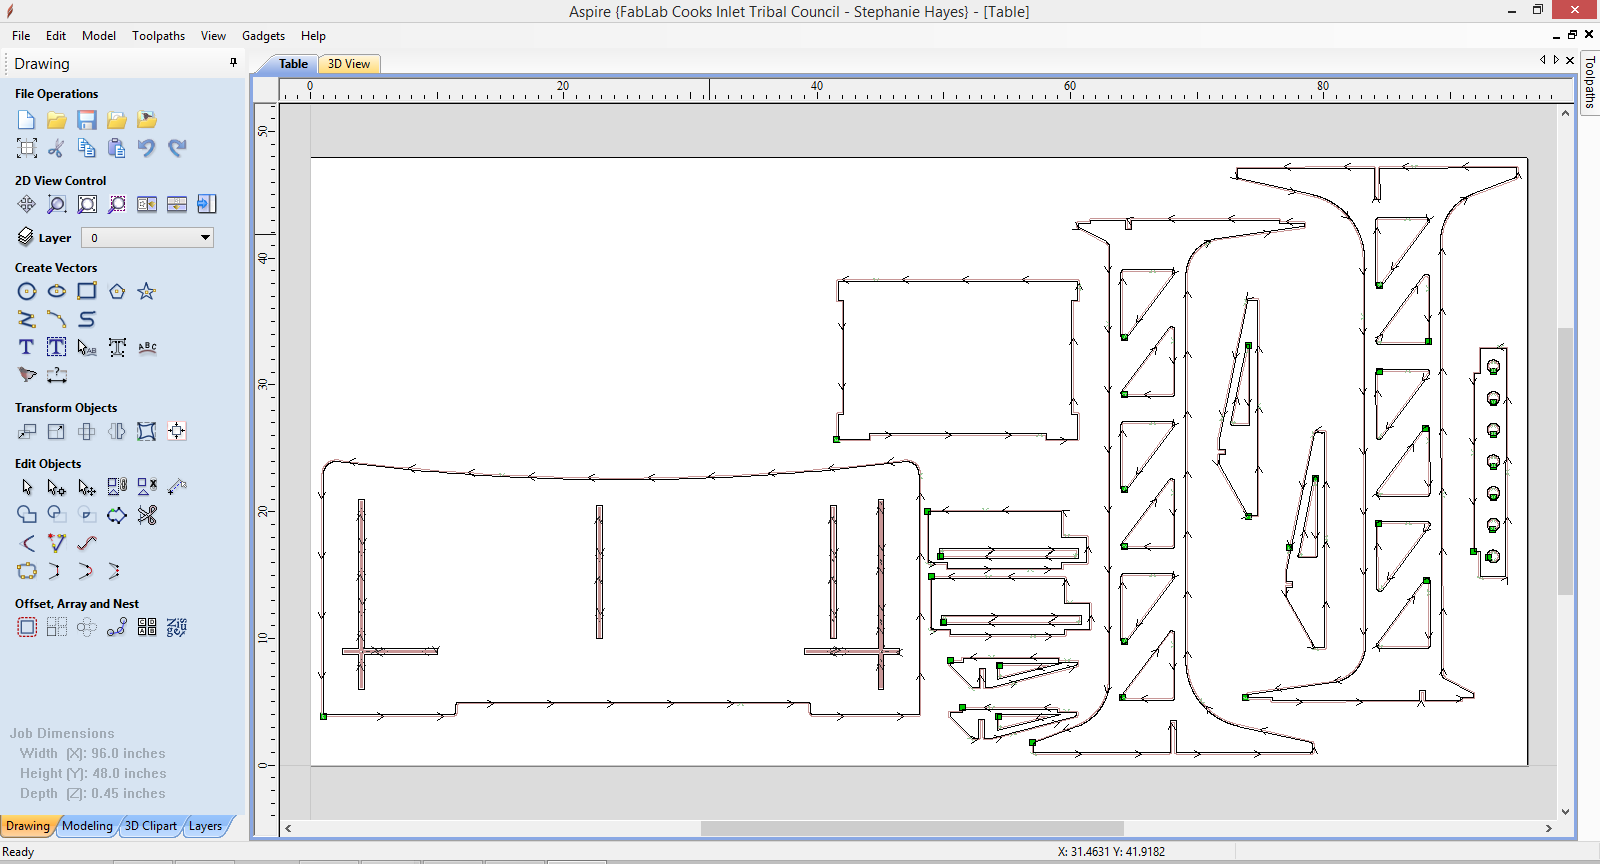
I opened the .dxf file in Aspire and used its toolpath tools to create my three toolpaths. One for the pockets that had to be milled 1/4" into the material. Another for the interal cuts and a final one for the exterior cuts. I used Aspire's tools for creating tabs to hold the cut parts onto the sheet of cardboard during the cut process. Tabs are often better than screws because you do not have to guess where to place the screws before you start cutting and tabs eliminate unnecessary holes in the plywood. |
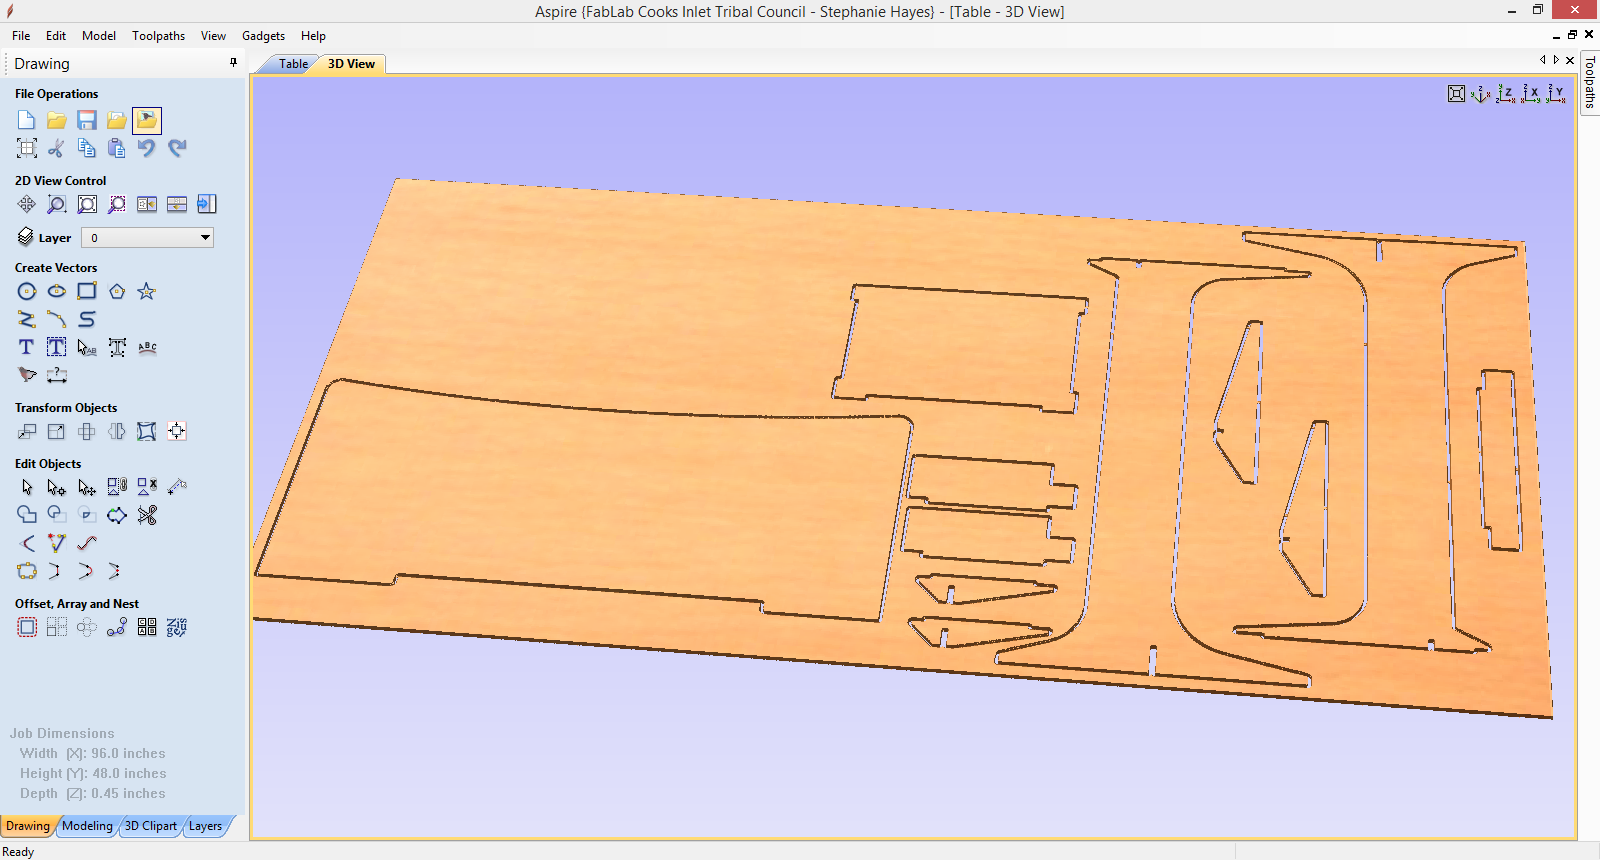
Aspire also has a convenient tool for previewing your toolspaths so that you can make sure they are all correct before you cut. As you can see above the cutouts in the leg sections of the desk are not included in a toolpath yet. These cuts were climb mill cuts using a quater inch 4 flute endmill and the following settings. |
120ipm (inches per minute) |
||
18000ish rpm |
||
3 passes |
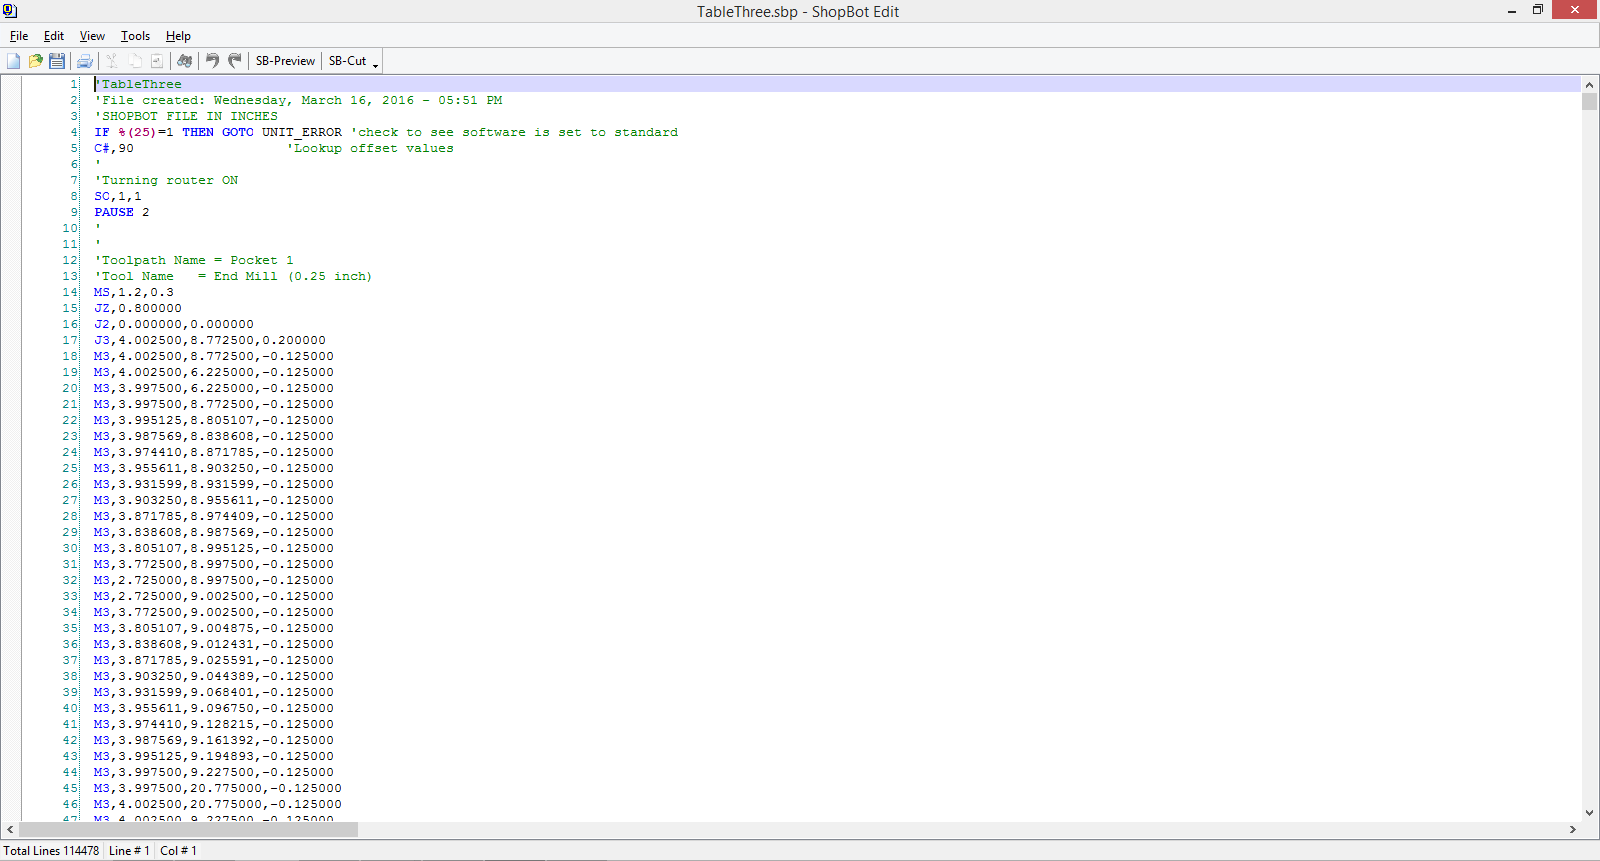
Finally I exported my toolpaths as G code so that the Shopbot could cut my design. |
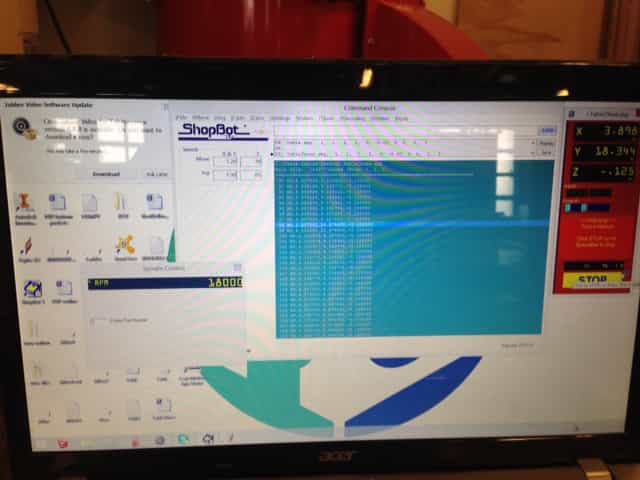
All of the rest is done through the Shopbot software. It is important to remember to do the spindle warmup routine if the Shopbot hasn't been run recently. Next the cut file can be loaded into the program. Another key thing to remember is once you hit cut and start the spindle movement, but before you have the machine start cutting the file open the manual spindle speed tool in the Shopbot software. You will often see that even though you set the spindle speed to a certain number in the cut paths settings in Aspire the spindle speed will be different in real life. Simply manually type in the desired spindle speed and you will hear the speed adjust on the machine. Then you can tell the machine to start actually cutting out your design. |
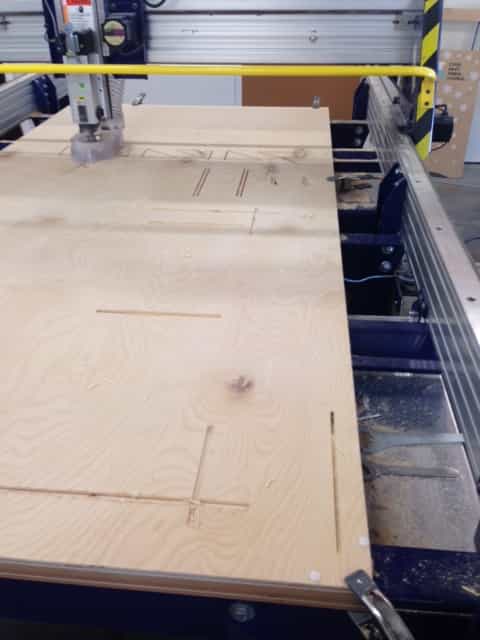
Here you can see the Shopbot cutting out my standup table design. Make sure you don't lean on the rails of the Shopbot while it is cutting because the linear gears for 2d movement are below those rails and you could easily get a finger or clothing caught while the machine is moving. |
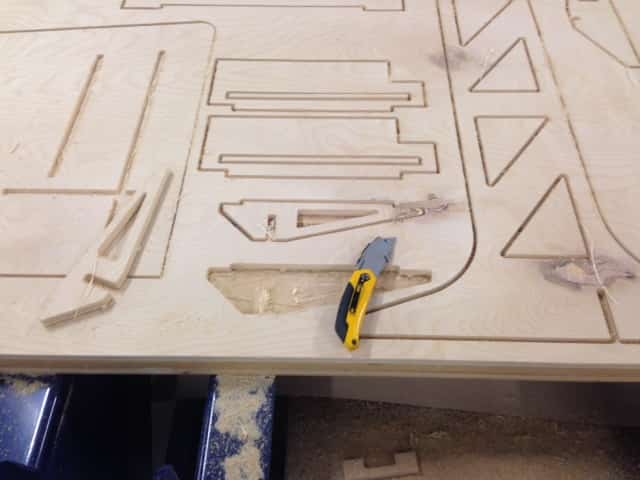
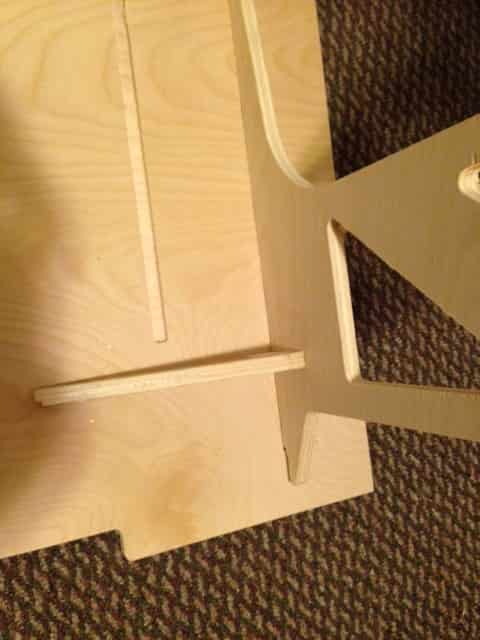
Once I am done cutting something on the Shopbot I like to use a razor blade to cut the tabs and free the parts from the original piece of plywood. Then I used a file and sandpaper to remove the parts of the tabs still left on the parts. Next I press fit the joints together. I used a mallet and in some cases found it helpful to round the edges of parts being fitted into notches so that the finished layer of the plywood didn't peel. All in all the table went together smoothly though. |
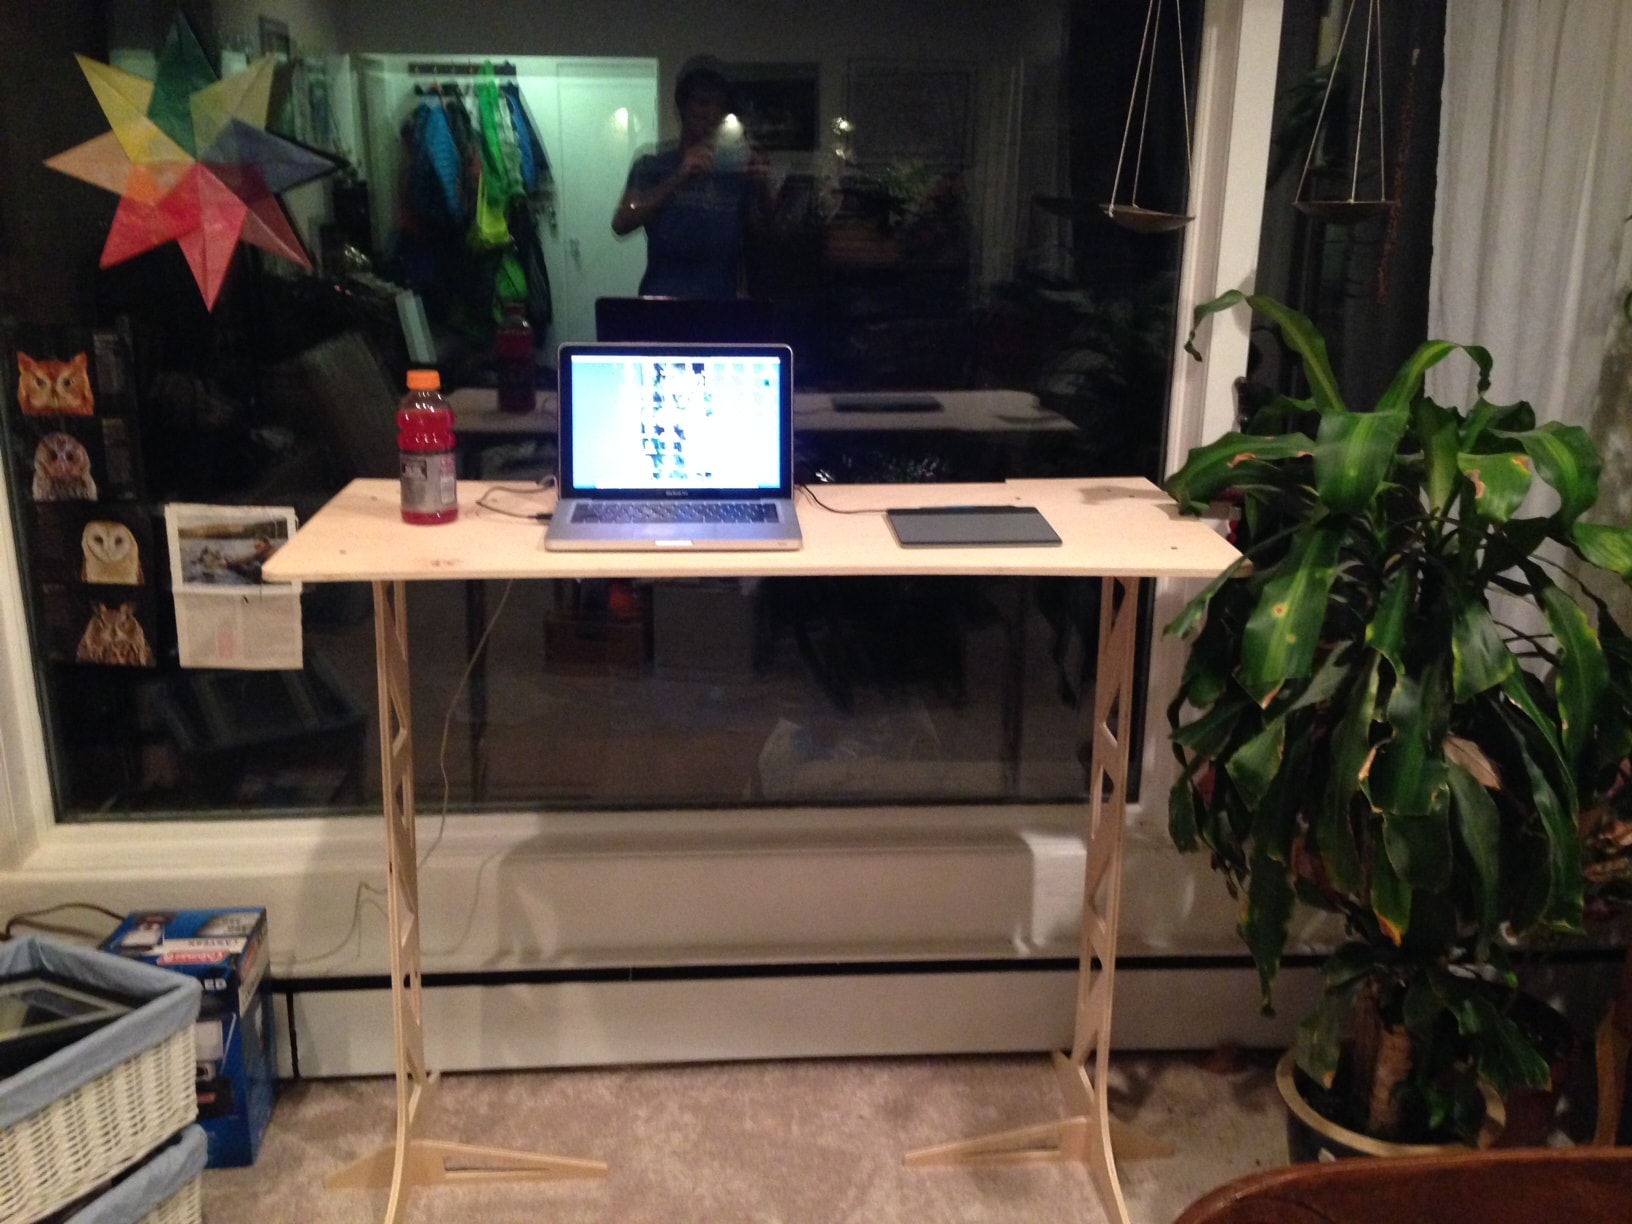
Once I finished I set up the desk infront of the window in my living room like I planned and hooked up a laptop to work at the desk. All in all I liked the process and really enjoy working standing up. For anyone else want to make a stand up desk you can download my Solidworks file here. I would recommend using slightly thicker plywood especially for the legs to reduce wobble in the desk. I would also recommend increasing the size of the leg supports both on the top and bottom to again decrease wobble. For my final project which at this point will probably be some sort of height adjusting standup desk I plan to use milled alluminum for the legs to completely eliminate wobble in the desk. Another cheaper, more simple solution is to use two vertical pieces for each leg that are both vertical, but are perpindicular to each other. This would give the desk more strength left to right, and eliminate wobble. |